
Learning with ALON AUTOMOTIVE
Air valves: troubleshooting and replacement
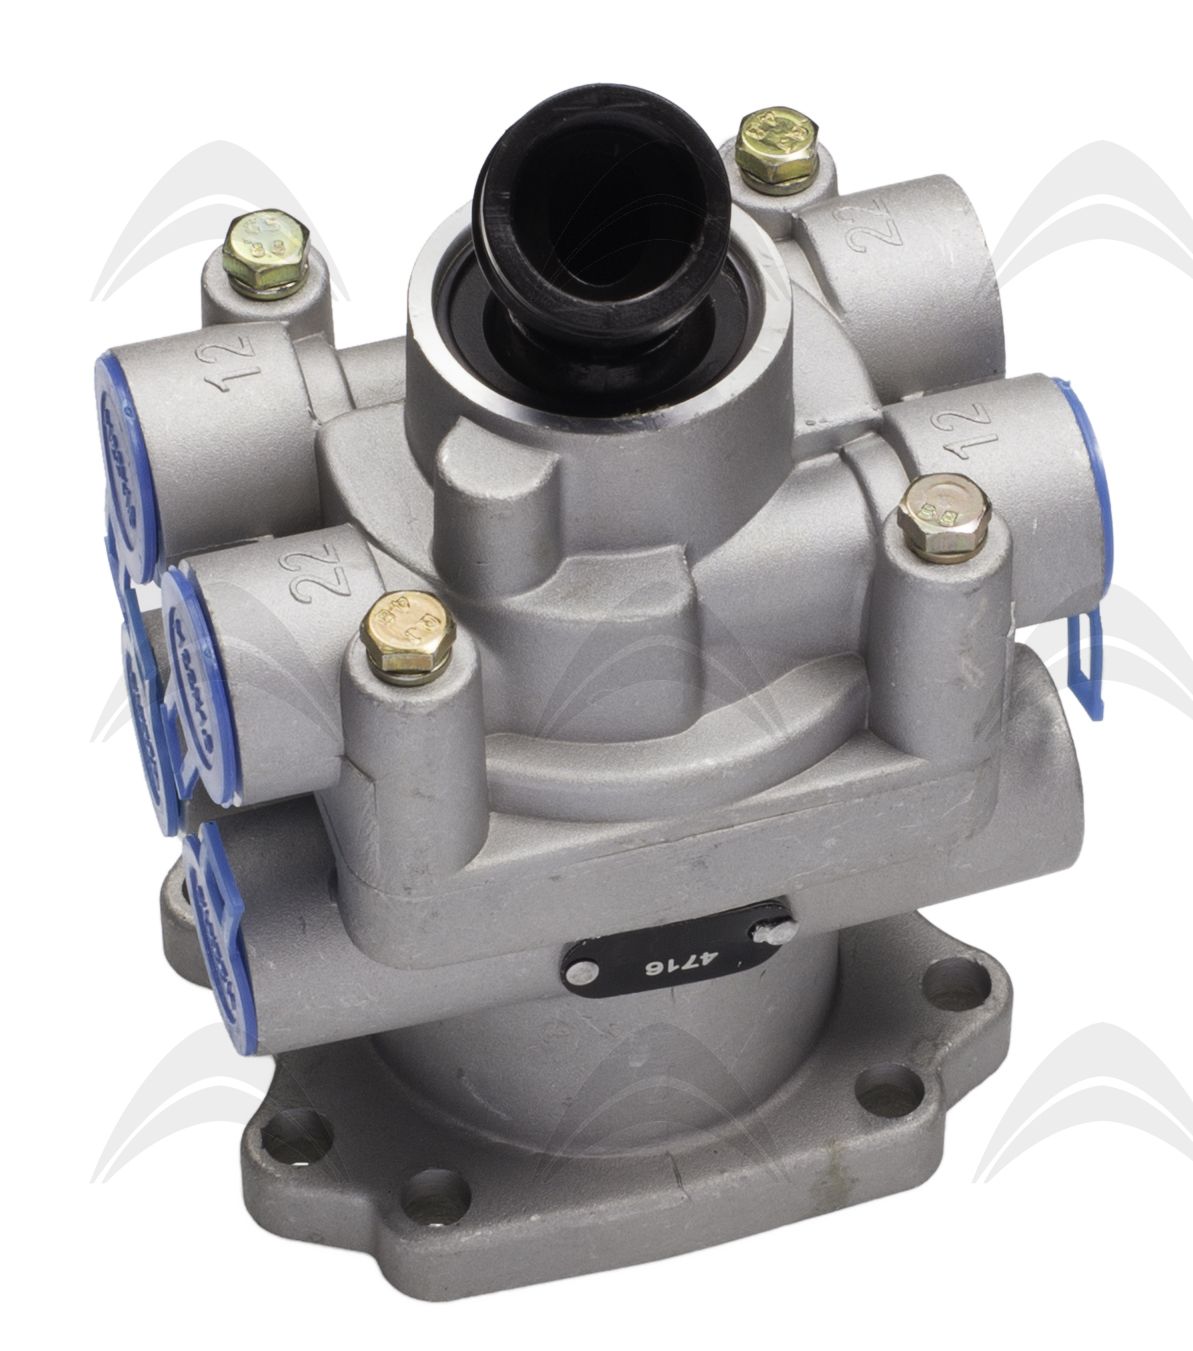
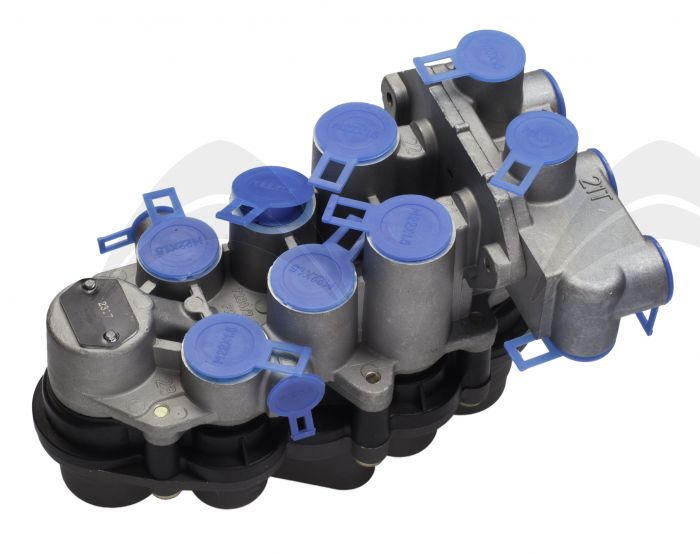
Air valves are simple yet crucial components for the correct operation of multiple systems in your truck, such as the brakes, the gears and the stability control. Therefore, it's vital to know how to maintain them and what you should and shouldn't do if you need to replace them.
A compressed air brake system in a commercial vehicle requires several pneumatic valves to operate.
Valves are important to help enhance safety. Below are some common problems and maintenance tips, as well as advice on changing these valves.
Troubleshooting
As a truck has so many types of valves and applications in a pneumatic system, there are several ways to recognise a problem. The main concern with valves is leakage, which can be identified if you hear a hissing noise. Another system would be to use bubble liquid in the area of the suspected leak. This method can help detect leaks and the size of them, as the frequency of bubbles will help determine severity.
In other cases, a good way to detect a leak is on the dashboard itself and with the pedals. There are some valves on the dashboard that have set pressures. If these pressures are faulty, it's pretty evident when you push or pull them. The same goes for foot-controlled valves: if the pedal is slack or the press distance is abnormal, the valve may have a problem.
There are some hard-to-reach valves, so determining whether they're faulty is more complicated. We recommend looking at what the vehicle is doing that it shouldn't be doing. What's more, you should always consult the guides and specifications of said valves.
Replacing the valve
If you need to change a valve, always start with the basic concepts of maintaining the air system, locking the wheels to stop the vehicle from moving and draining the air system and tanks before proceeding.
Specific tips:
· Always follow the general safety guidelines listed in each service data sheet, or the instructions for installation, to help prevent personal injury.
· Whenever possible, cover the valve with its connectors before putting it in the vehicle. If the valve has a built-in mounting surface, use it to hold it in place while fitting the connectors.
· Don't put a valve in a vice to place the connectors, and don't tighten the main diameter of the valve or the shape of the valve, even slightly, as there's a risk of damaging the valve.
· Avoid using too much thread sealant on accessories: if too much sealant is used, there's a danger of clogging up the valve and damaging it, which means changing it again.
· Once a connector is aligned, avoid reversing the torque: always go in a tightening direction.
· Remember the correct alignment of the valve: the exhaust port must always be facing downwards to prevent water or other particles from building up inside.
Finishing off the job
When it's time to reconnect the air lines, check the type of connection. Simply screw the threaded hose into place, while a push connector hose will require a 90-degree cut at the end. Once the air has been reconnected, follow the standard system level verification procedures for the chassis valves, and perform specific tests for the dashboard valves, such as the test for set pressures, override functions, and other operations.


![]()